
-
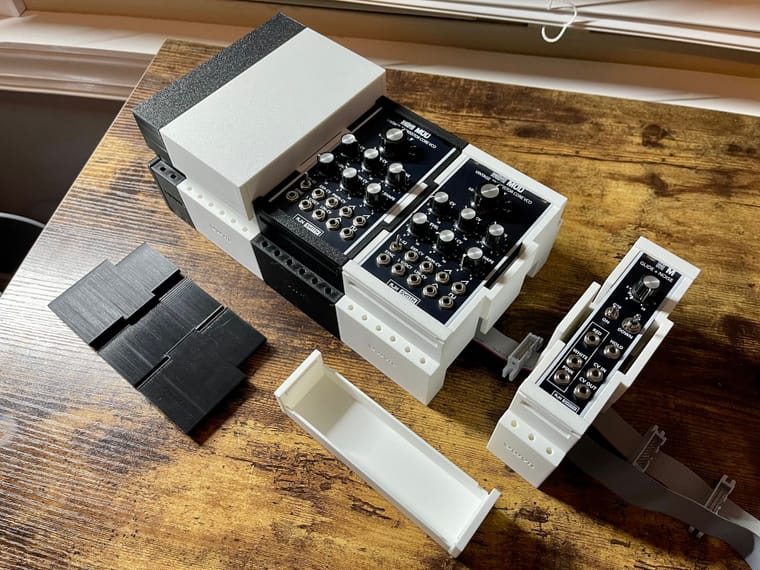
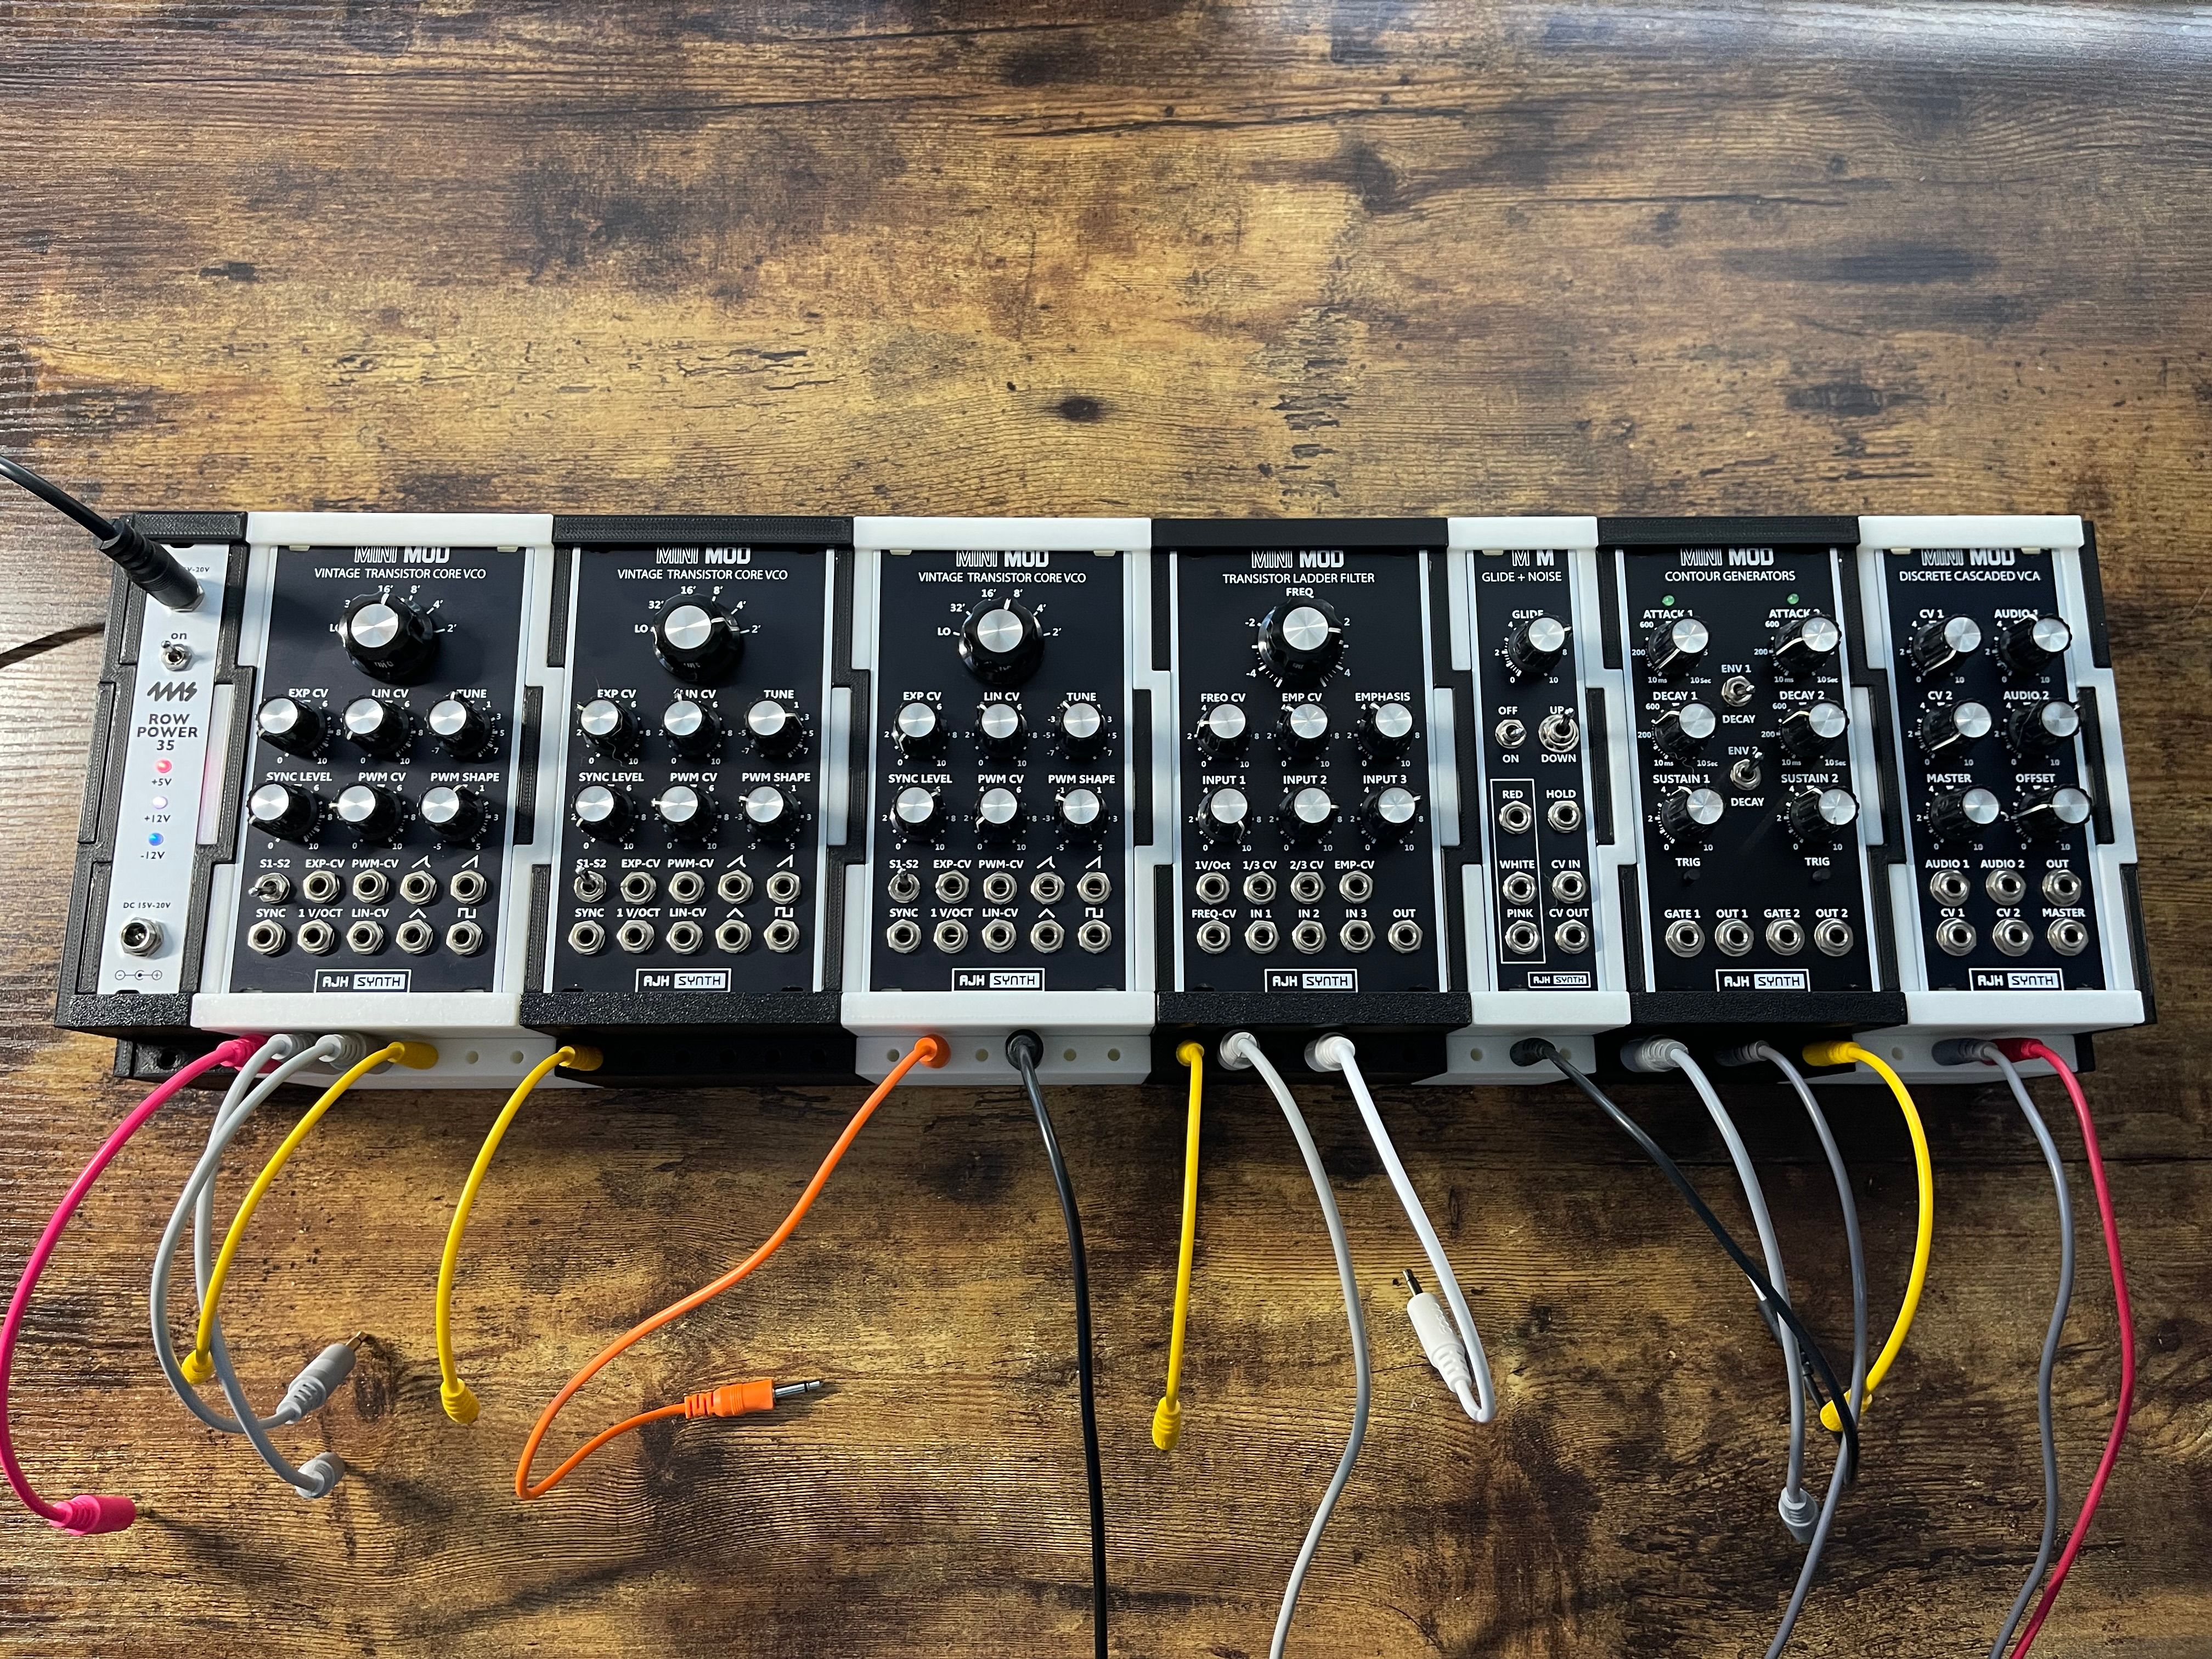
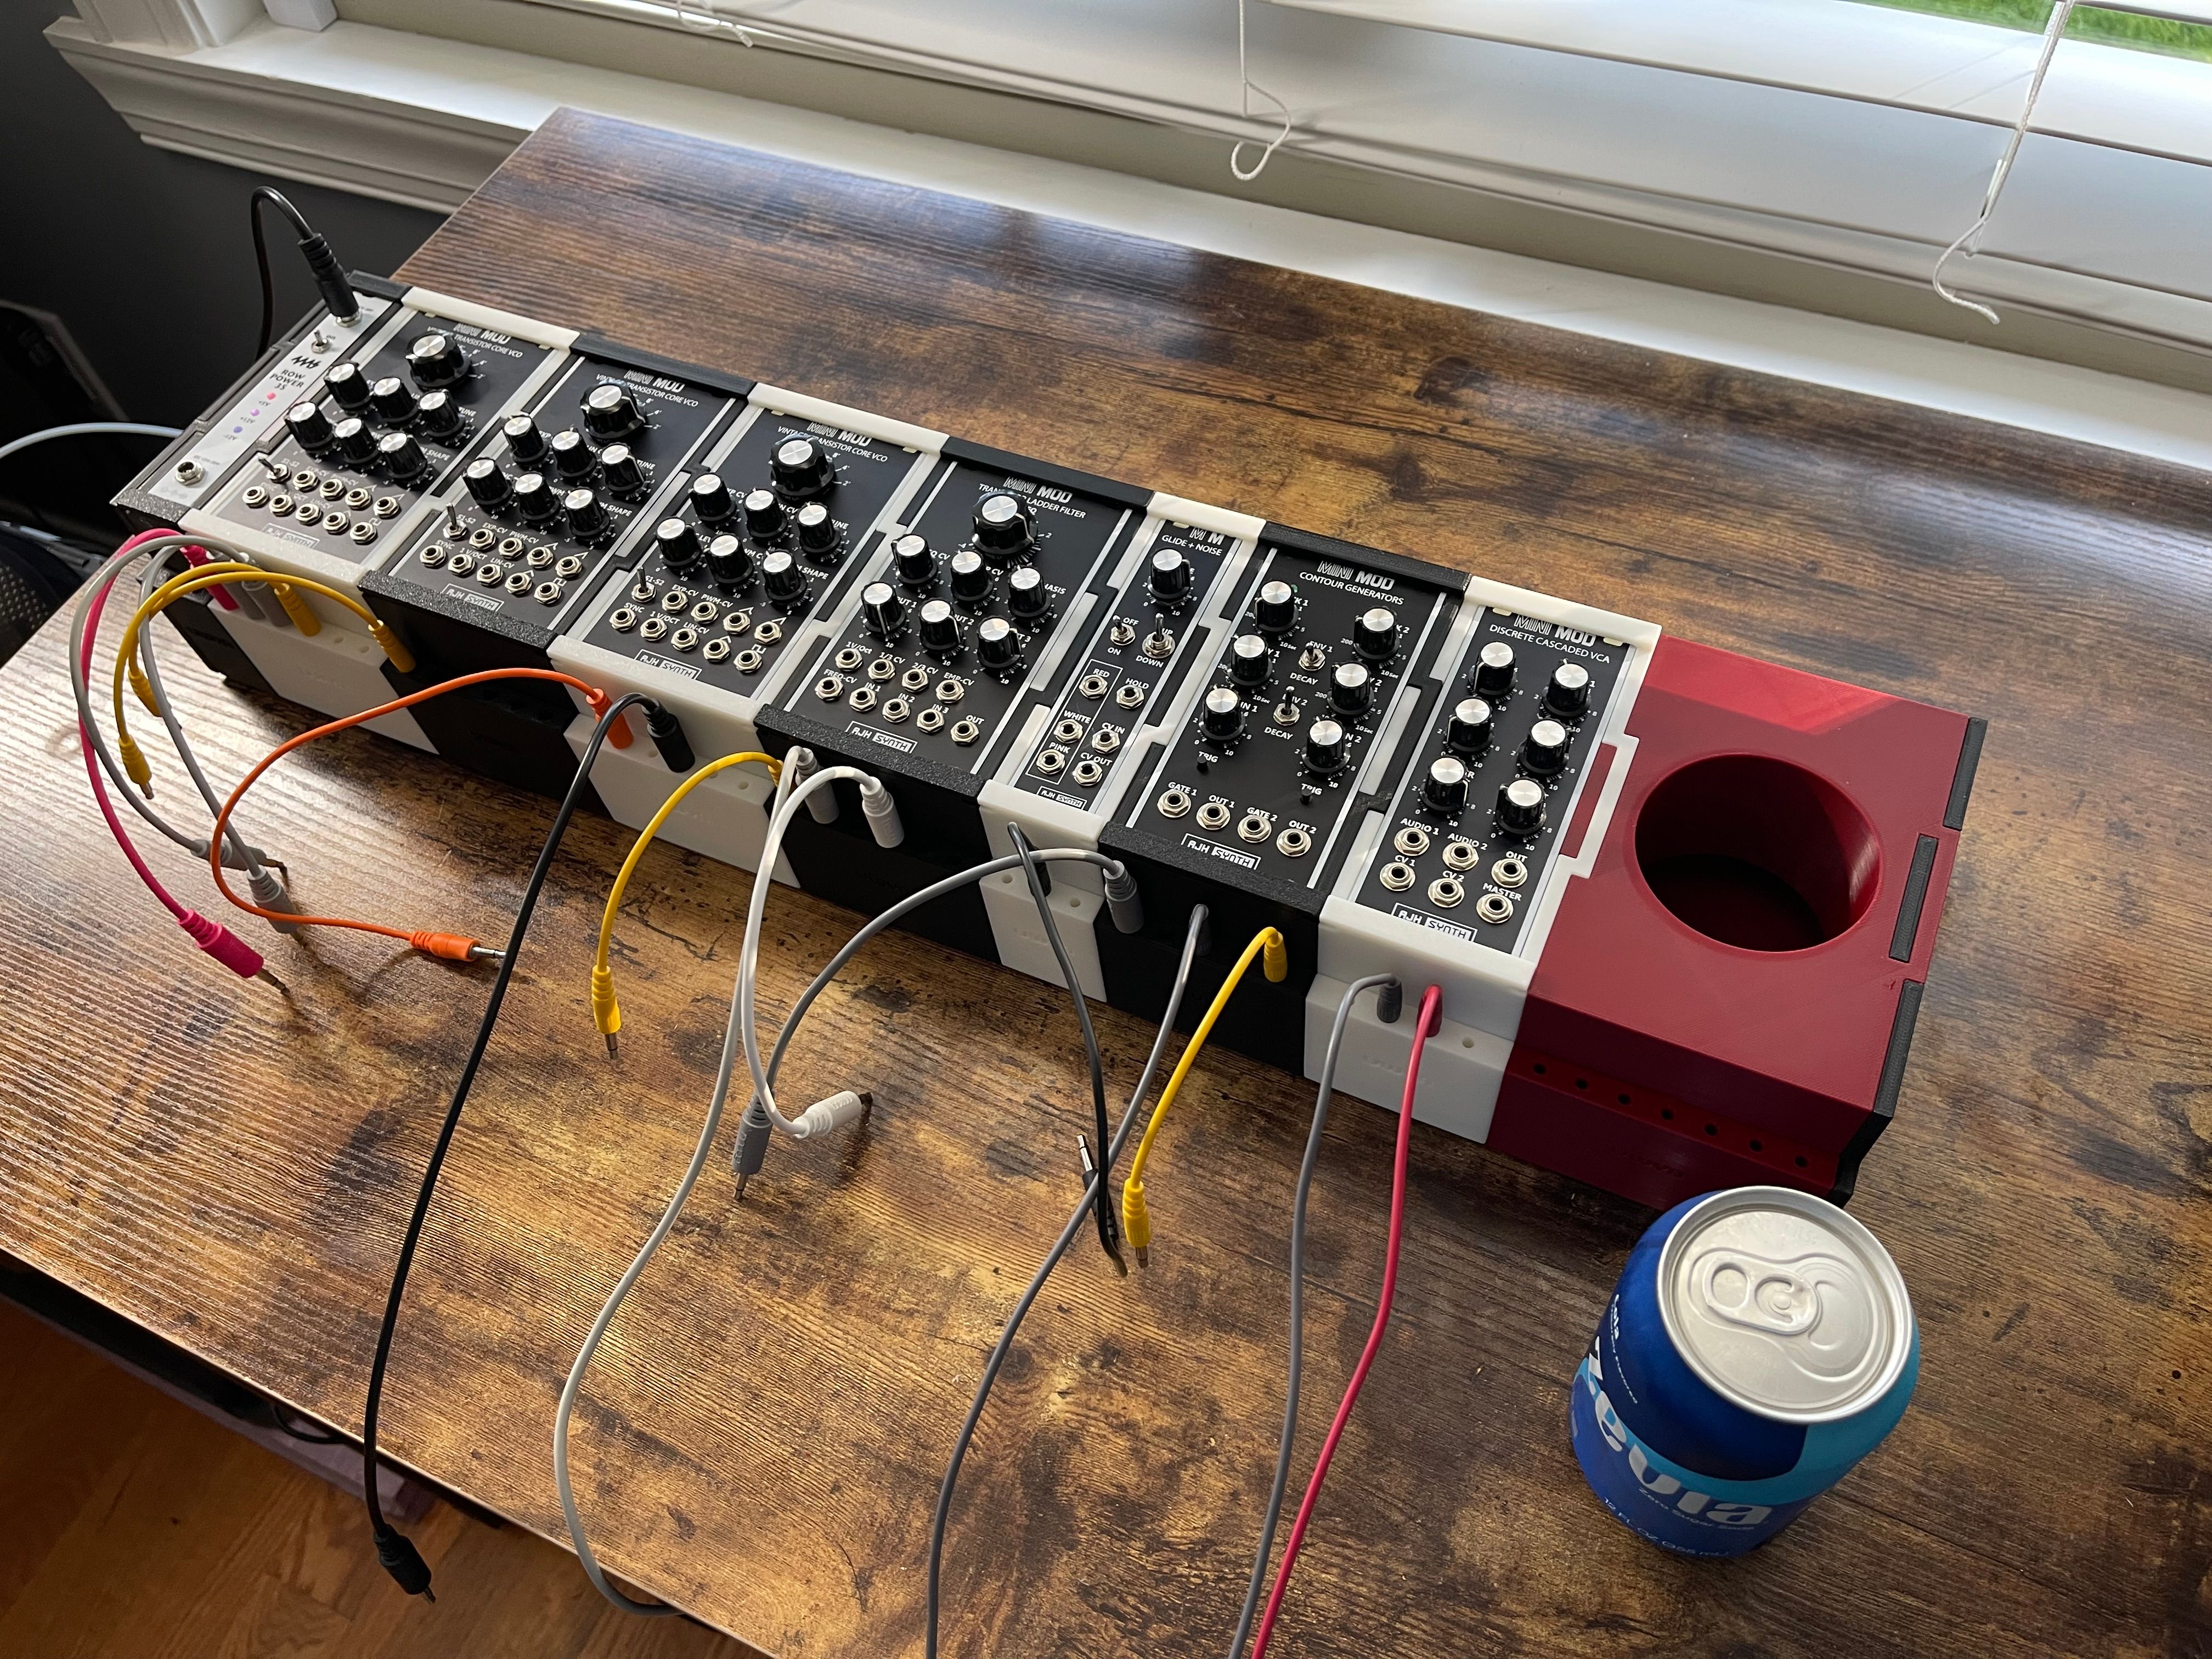
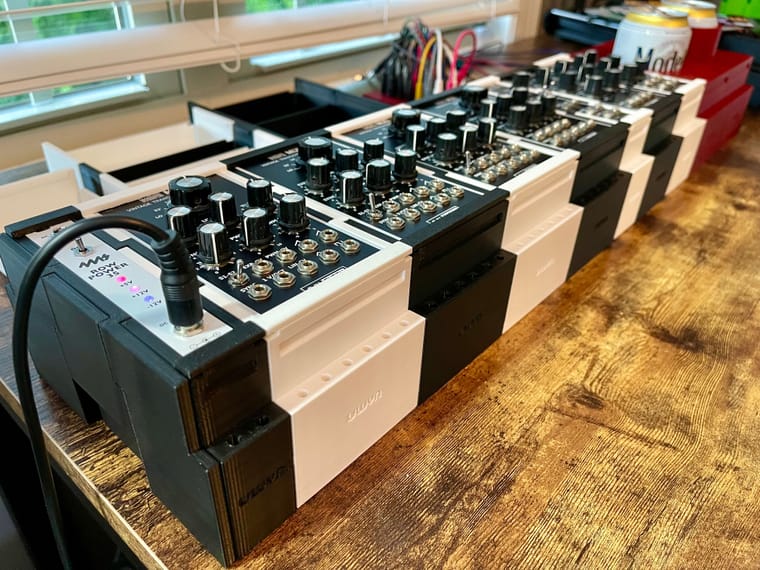
Been following the progress of this on Mastodon and this is yet one more reason for me to finally go out and get a 3D printer, especially if you do decide to open-source it. I have to say that I was deeply concerned and could not figure out what on earth you were thinking when you decided to put those weird patch points on the bottom of each case, so I was definitely relieved when I read this post and realized they were "merely" patch cord storage LOL
-
Been following the progress of this on Mastodon and this is yet one more reason for me to finally go out and get a 3D printer, especially if you do decide to open-source it. I have to say that I was deeply concerned and could not figure out what on earth you were thinking when you decided to put those weird patch points on the bottom of each case, so I was definitely relieved when I read this post and realized they were "merely" patch cord storage LOL
@selgart these would be a good entry into 3D printing since they're actually pretty easy to print, so you can focus on getting to know what needs to be learned in the 3D printing realm. Yeah the cable holders are inspired by my CableCube product, though don't have the clicky feel since that wasn't possible with the rest of the design
-
 G gbevin referenced this topic on
-
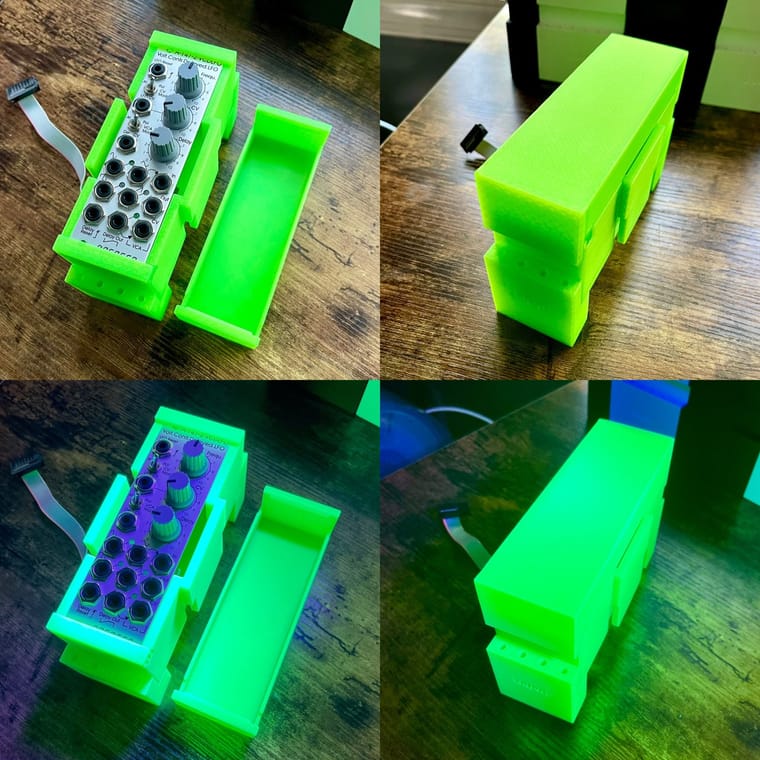
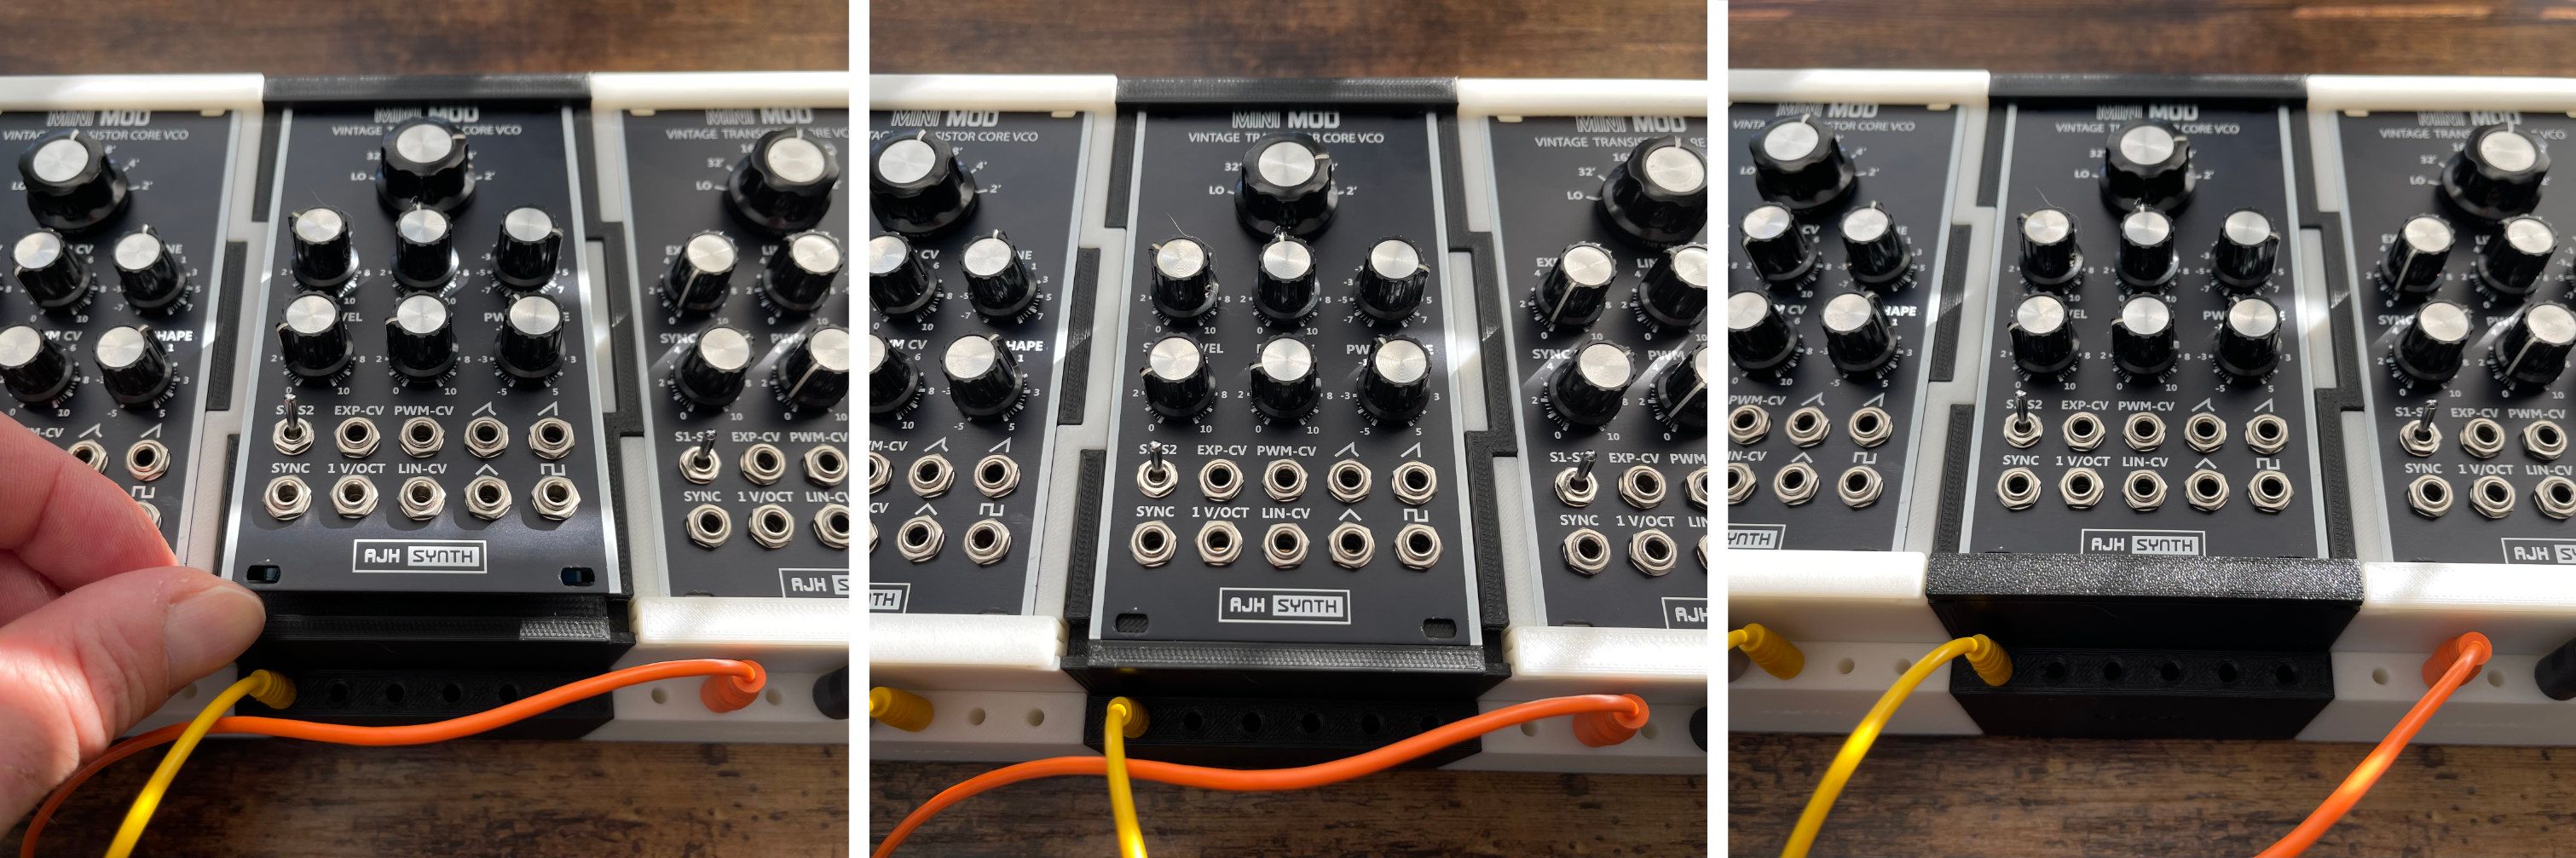
Been thinking about these a bit. Would it be possible to make some sort of “negative” of the patch cable storage section? In other words, you’d have a block the size of two patch cable bits, as if the bottom of one module were to combine with the top of another, with two rows of pins pointing downwards so you could connect two single rows together to make a two-row system.
-
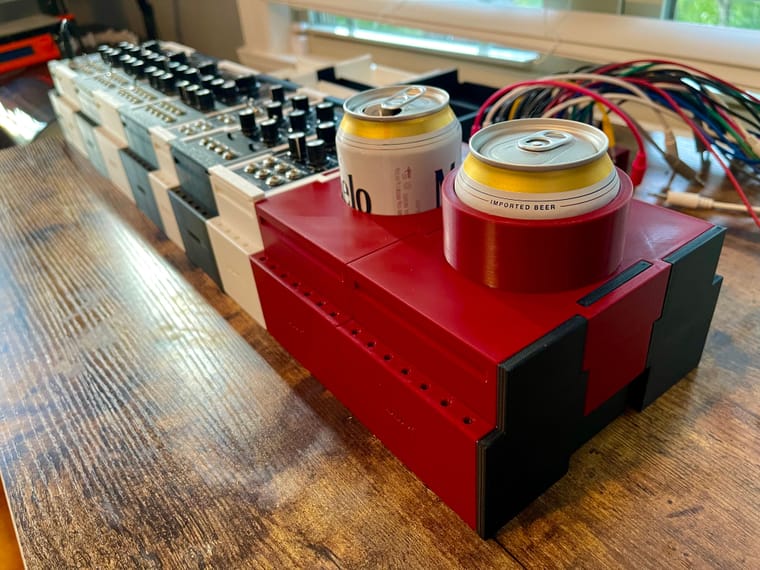
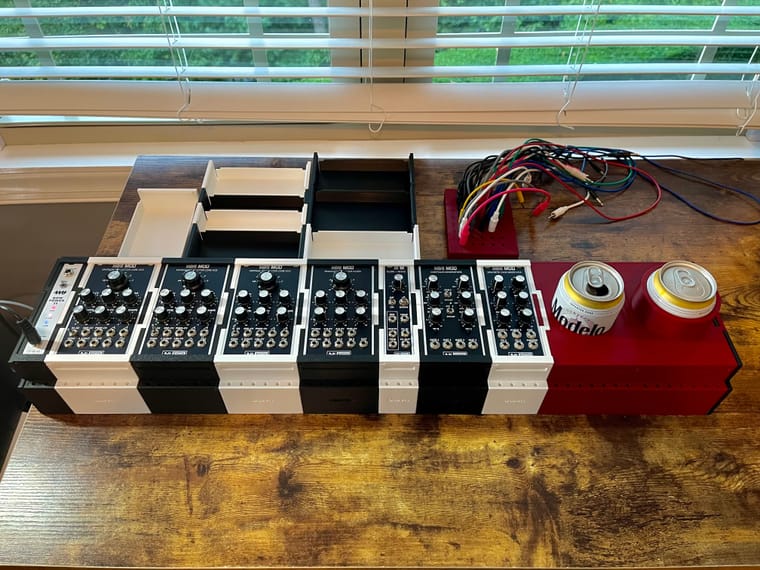
Test printing the last sizes: 16hp, 18hp, 20hp and then I think I'm ready to release the first version of RackBlox.
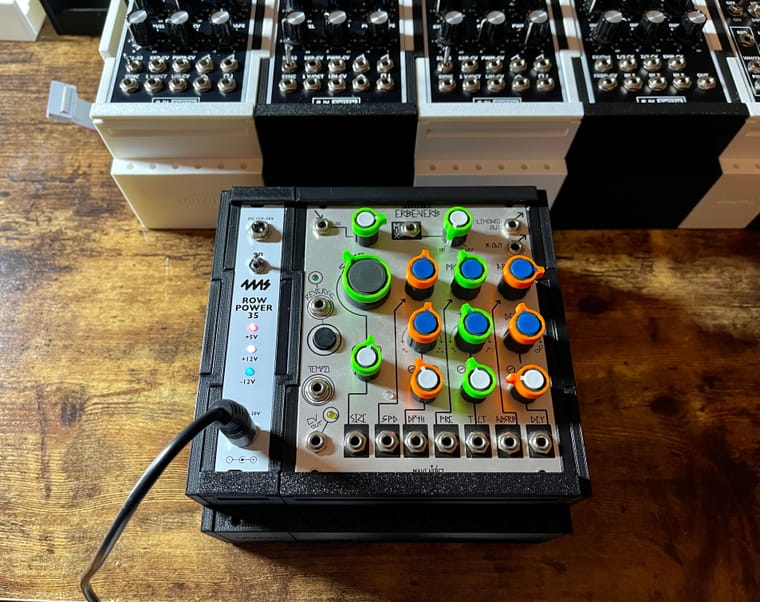
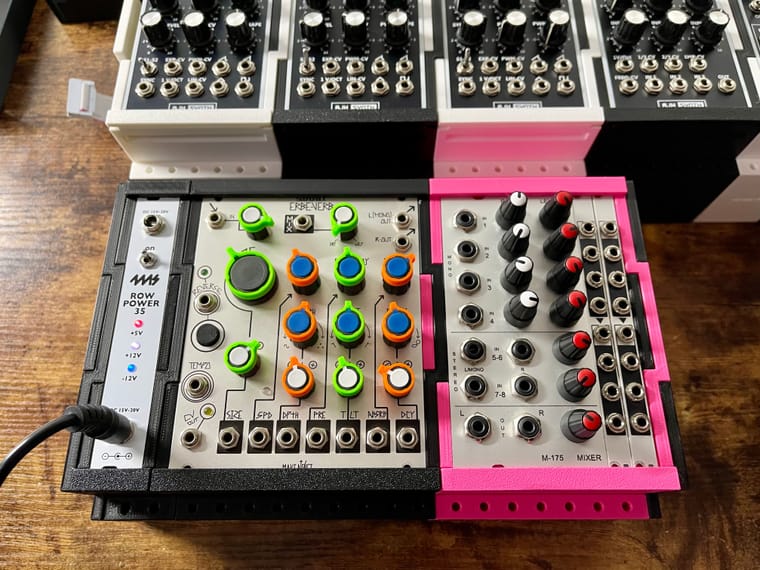
Now featuring a drink koozie as well as a drink holder.
The double wall with a sealed air gap between makes for an excellent insulator and keeps your next drink cold, while you're enjoying the current one 😁
-
G gbevin moved this topic from 3D Printing & Design on